 We posted a few photos of splatter print nails for inspiration on our Facebook page and you guys loved them, so we’ve decided to show you just how easy it is to create the look.
Here are the most simple tips we have found.
Before you get started you’ll need:
- A clear nail polish
- A matte white nail polish
- At least two coloured nail polishes
- Some paper towels
- A straw
- Some cotton buds.
- Nail polish remover.
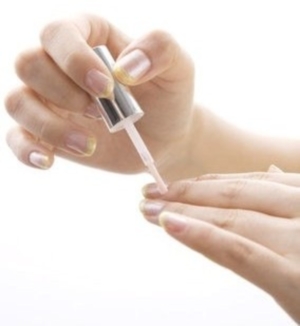 Start by applying a base coat of clear nail varnish onto clean nails and allow it to dry.
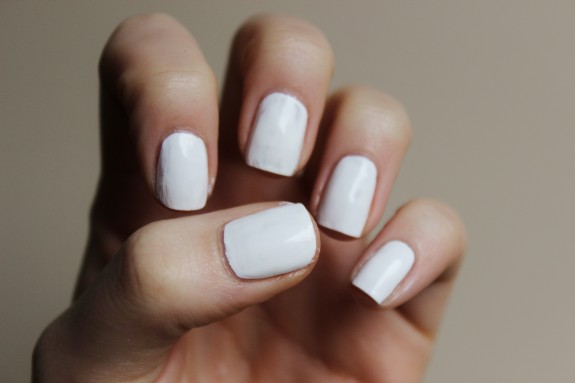 Apply two layers of matte white polish, allowing the first coat to dry before applying the second. This creates a base for your design.
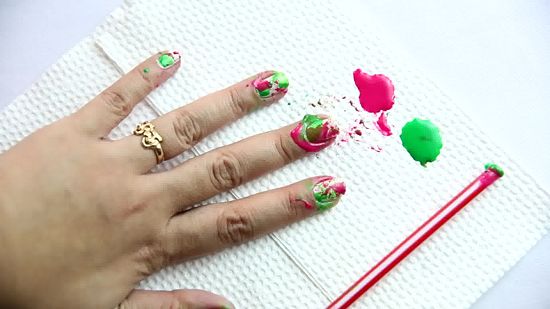
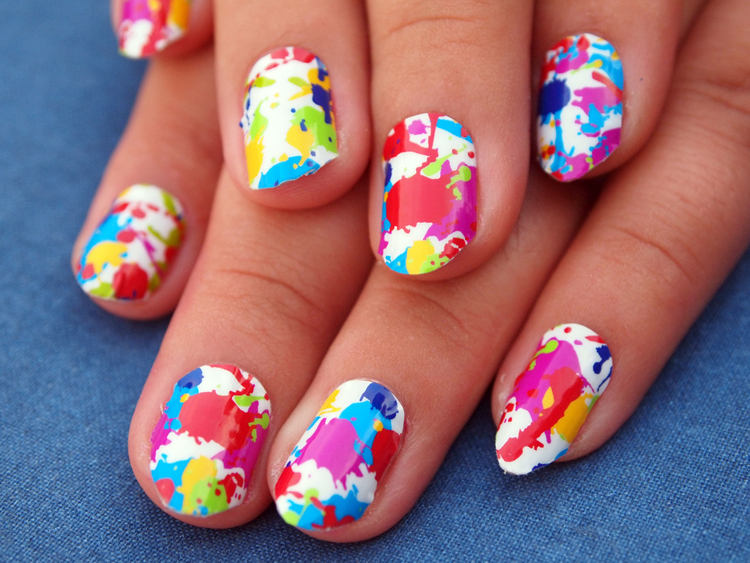
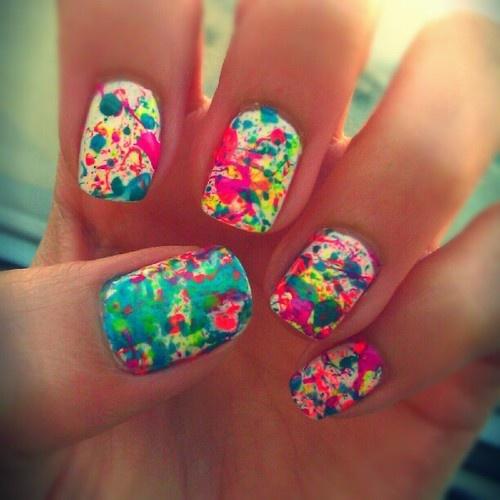
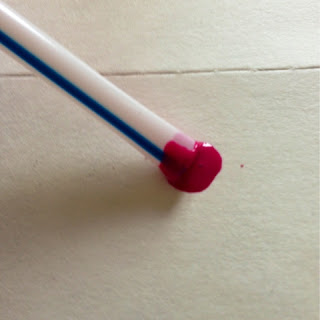 Next decide on at least two contrasting colours, which will be used to create a splatter print effect. Pour a generous amount of each polish onto a paper towel and coat the end of a straw with the polish as shown. Blow through the clean end of the straw directly onto your nail, alternating between each polish you have chosen. This will create a splatter effect across your nails, as shown above.
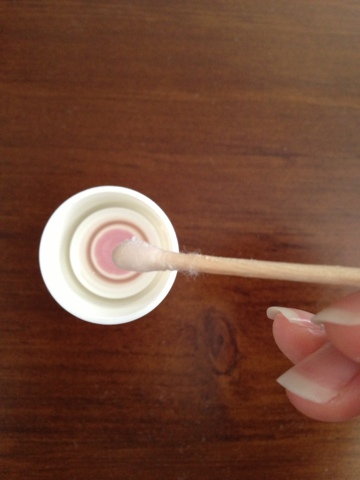 Tidy up any excess polish around your nails using a cotton bud soaked in nail polish remover.
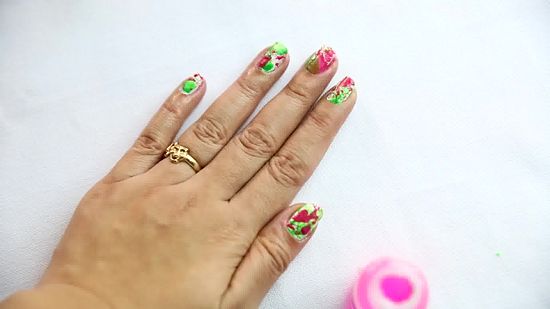 Apply a top coat of clear nail polish and you’re good to go!
(images and source: trends-style.com, chsasb.com, skincareihub.com, blog.shesaidbeauty.com, wikihow.com, teapartybeauty.com, rainingroad.blogspot.com)


Wow love