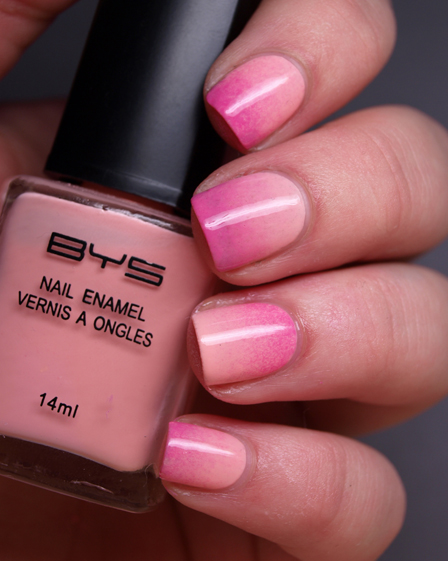
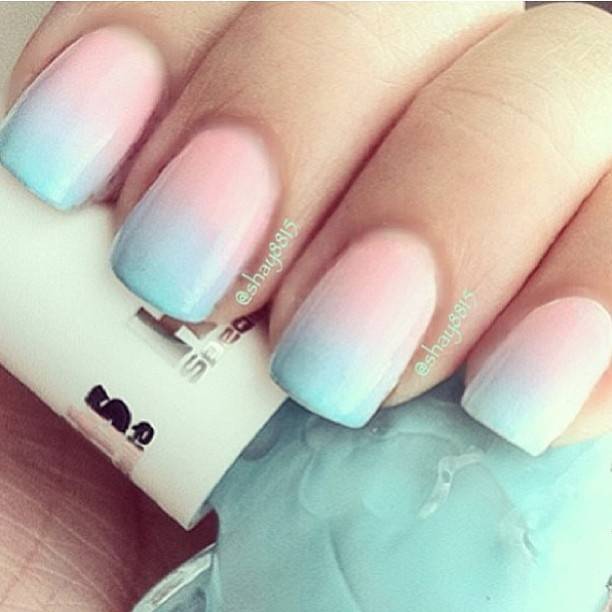
When we posted some photos of the ombre nail trend, you guys told us you loved it and wanted to know how you could get the look by doing some DIY manis at home.
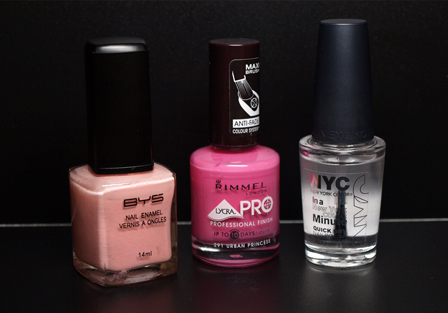
To create your DIY ombre nails, you’ll need:
- 3 nail polishes- a light tone, a dark tone and a top coat.
- A sponge- a make up sponge or a torn off section of a large bathroom sponge.
- Toothpicks.
- A plastic folder wallet.

We’ve searched high and low for the best tips and these 7 easy steps are our favourite.
Paint your nails
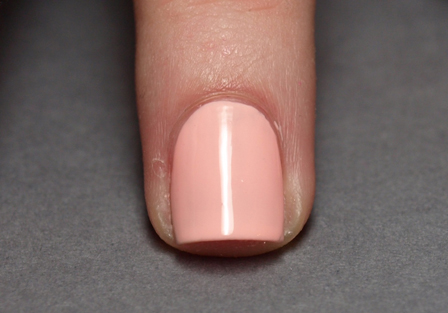
Using the lightest coloured polish, paint your nails and wait for them to dry completely.
Get your plastic out

Place your plastic folder wallet on a table and apply a large amount of each coloured polish side by side as shown.
Use your toothpick
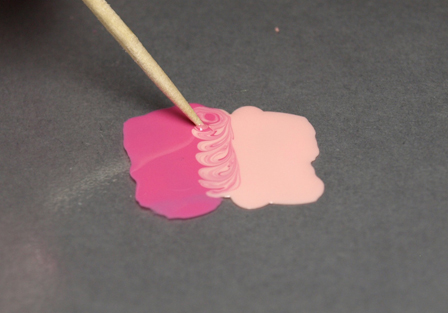
Blend the colours together with a toothpick, where they meet, as you can see above. Be careful about how you mix them. If you want a long fade effect, mix bigger sections of the polishes together. If you want less of a fade, mix them together just a little.
Sponge Time
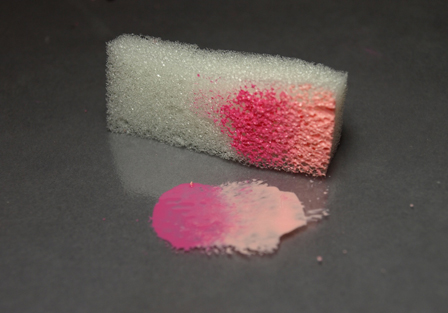
Using your sponge, dab down on the blended colours several times.
Apply to the nail
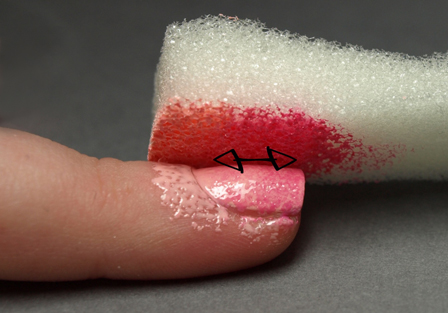
Apply the sponge to your nail using the same motion. Be sure to dab lightly, continuously moving the sponge slightly up and down the nails. You may need to repeat this step to get the effect you want, but be sure that your polish is dry before you reapply.
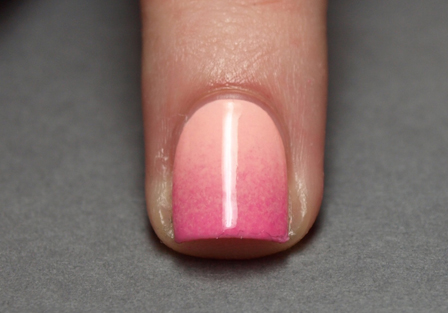
Add a top coat
Apply a top coat of clear polish to smooth and even out the nail.
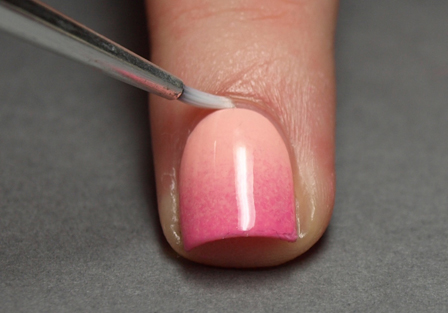
Clean up
Use a Q-tip and some nail polish remover to tidy up the polish around the nail.
Is this a trend you would try?
(images and source: glamour.com/lipstick, naildesigny.com, newfashioncorner.com)