Hi guys!
Hope you’re all having a nice Tuesday.
I have a mini tutorial for you today! When it comes to hair, backcombing is one of the things I am ALWAYS asked about, (even more so these days now that we’re coming into the party season.) It takes a bit of practice at first, but once you get the hang of it and learn how to do it properly, you can kiss goodbye to flat hair forever!!
Here’s the step-by-step process I always go through:
Step 1
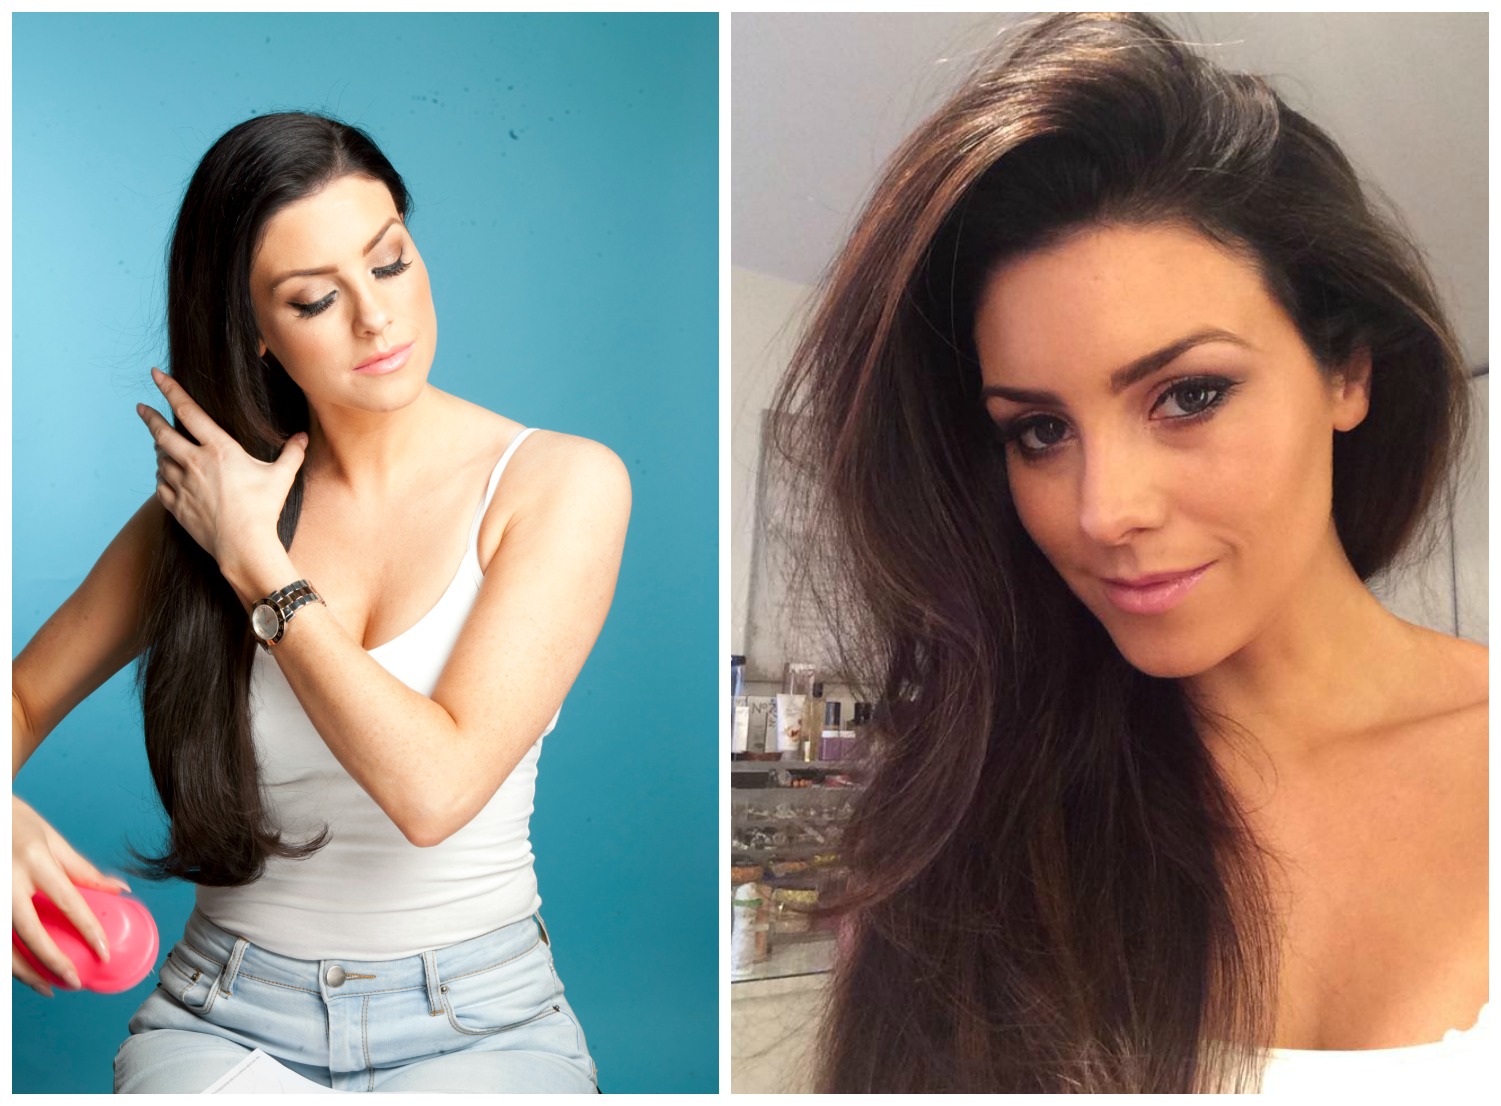
First I brush my hair thoroughly, usually with a Tangle Teezer, so as to ensure it is as smooth as possible. I then use the pointed end of my backcombing brush to section my hair into thin rows.
Step 2
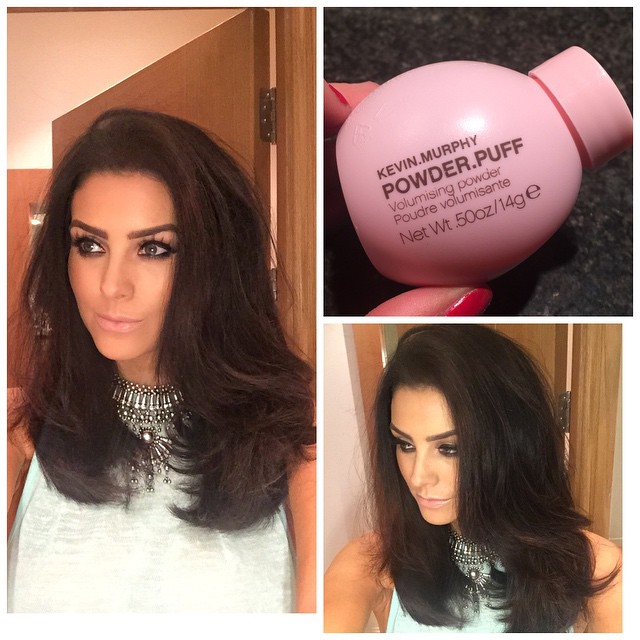
Next I lift the first row of hair and add in some volumising powder such as OSIS Dust It, or, my all-time favourite, the Kevin.Murphy Powder Puff. I have been obsessed with the Kevin.Murphy Powder Puff ever since I reviewed it earlier this year (which you can read here) It’s amazing for creating volume, even in short hair!
Step 3
With the hair section still lifted, I take my backcombing brush and gently brush the hair down towards the scalp in one swift move. Then I take the brush out and start at the top again.
Backcombing does NOT involve brushing your hair up-and-down. This is what most ladies do but as any hairstylist will tell you, it’s not only the wrong way to do it, it’s also very damaging to your hair. Once I have backcombed the roots, I always spritz them with hairspray to keep it from drooping.
Step 4
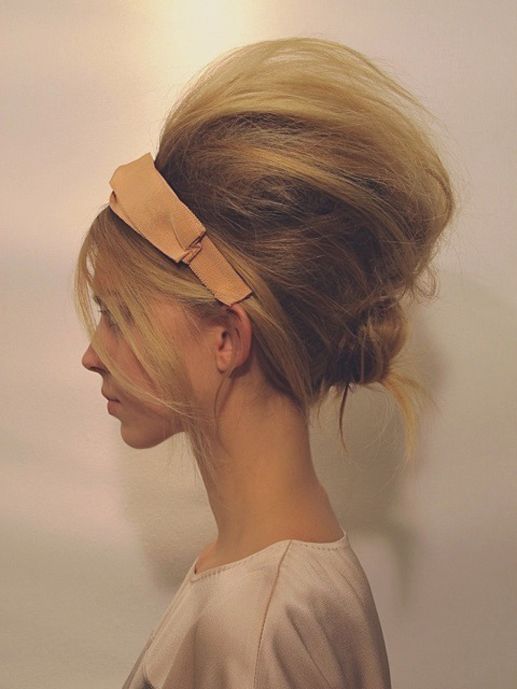
Backcomb the hair as high as you want and then leave that row of hair as it is. All you have to do now is repeat the process until you have backcombed all the sections you want volumised. Remember, backcombing doesn’t have to mean massive hair! If you are going for a side parting, like I did in the picture below, a little backcombing of the roots on the side and at the back is a great way to give the style some lift.
Step 5
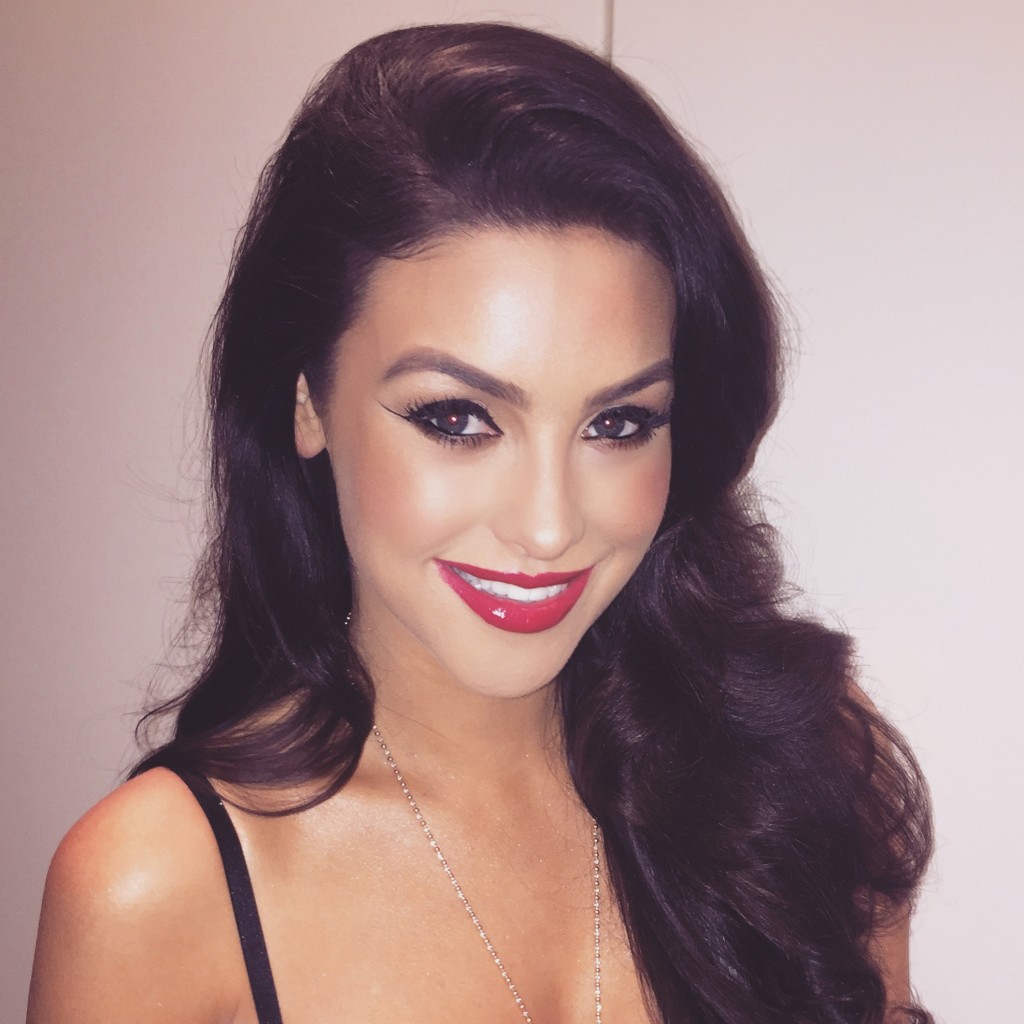
Once the sections have been backcombed, I then gather them up into one section, as though I’m creating a half-ponytail, and start smoothing out the top surface so that the end result doesn’t look frizzy. (If you are only backcombing the back of the head, then a great trick is to brush a layer of non-backcombed hair over the backcombed section. This will add to appearance of natural volume)
Step 6
To finish, I always set it in place with a strong hairspray. I love TRESemmé’s Perfectly Undone Ultra-Brushable Hairspray or Schwarzkopf Got2b Glued Blasting Freeze Spray.
If you want to know how to create a volumised ponytail, check out my previous hair tutorial here!
Any questions, just pop them in the comment box below!